How to put a Space bar back on
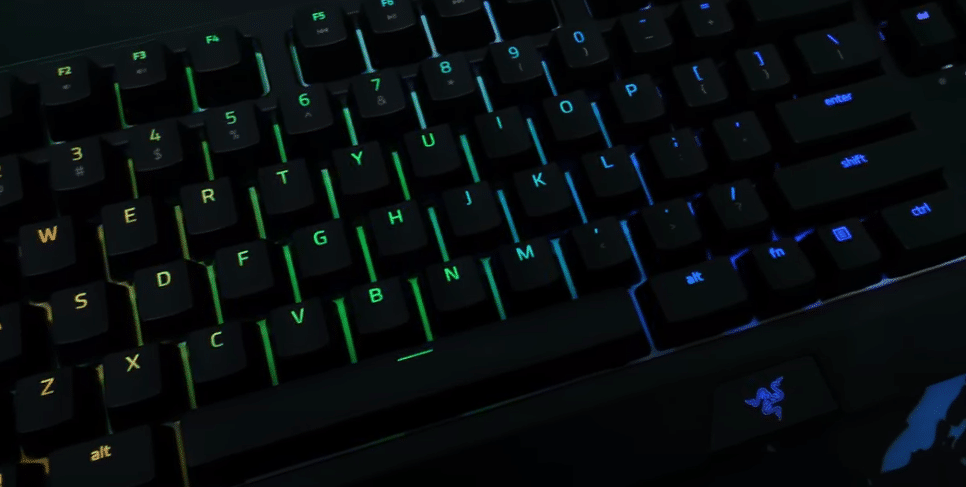
The space bar on your keyboard is one of the most frequently used keys, facilitating the separation of words and allowing for fluent typing. However, it can sometimes become dislodged or even pop off due to various reasons such as accidental force, wear and tear, or simply aging equipment. Reattaching a space bar may seem like a daunting task, but with the right approach and a bit of patience, it can be accomplished without much hassle. In this guide, we’ll walk you through the step-by-step process of putting a space bar back on your keyboard.
- Assess the Situation: Before you start reattaching the space bar, it’s essential to understand the mechanism and layout of your keyboard. Carefully examine the space bar and the area beneath it to identify any broken or missing components that may hinder the reattachment process. Additionally, ensure that there are no obstacles or debris obstructing the space bar’s placement.
- Gather Necessary Tools: To effectively reattach the space bar, you’ll need a few basic tools:
- Tweezers or a small flathead screwdriver: These tools will help manipulate and position the components of the space bar mechanism.
- Replacement parts (if necessary): Depending on the condition of your space bar and keyboard, you may require replacement clips or stabilizers.
- Locate the Mounting Points: Most space bars feature mounting points or stabilizer clips on either side that secure it to the keyboard. These mounting points typically consist of small plastic or metal pieces that fit into corresponding slots on the keyboard’s frame. Carefully examine these mounting points to ensure they are intact and undamaged.
- Align the Space Bar: Place the space bar over the mounting points, ensuring that it is oriented correctly with the keyboard layout. Take note of any grooves or tabs on the underside of the space bar that indicate its proper alignment. Gently press down on the space bar to engage the mounting points and verify that it sits flush with the surrounding keys.
- Secure the Space Bar: Once the space bar is aligned correctly, it’s time to secure it in place. Depending on your keyboard’s design, this may involve snapping the space bar onto the mounting points or sliding it into place along a track. Use your fingers or a tool like tweezers to apply gentle pressure and ensure that the space bar is securely attached.
- Test for Functionality: After reattaching the space bar, test its functionality by pressing it several times to ensure smooth operation. Pay attention to any unusual sounds or resistance, as these may indicate misalignment or improper attachment. Additionally, type a few sentences to confirm that the space bar functions correctly within the context of regular typing.
- Fine-Tune if Necessary: If the space bar does not function as expected or feels unstable, double-check the alignment and attachment points. You may need to readjust the space bar or replace damaged components to achieve optimal performance. Be patient and methodical in your approach, as minor adjustments can make a significant difference in the space bar’s functionality.
Conclusion:
Reattaching a space bar to your keyboard may seem like a daunting task, but with the right tools and techniques, it can be a straightforward process. By carefully assessing the situation, gathering necessary tools, and following a step-by-step approach, you can successfully put a space bar back on your keyboard. Remember to test for functionality and make any necessary adjustments to ensure smooth and reliable operation. With a bit of patience and attention to detail, you’ll have your keyboard fully functional and ready for use in no time.